Yeah, I know, this is pretty trivial, but I had made some snapshots of the process and thought, why not? Maybe someone gets stuck in one of the steps, like the database (I did the first time I installed Mautic) So here it is…
OK, so after you complete the Mautic installation, you have to point your browser to your Mautic domain or the IP of your VPS. After you do, if everything went fine, you will be presented with the following screens:
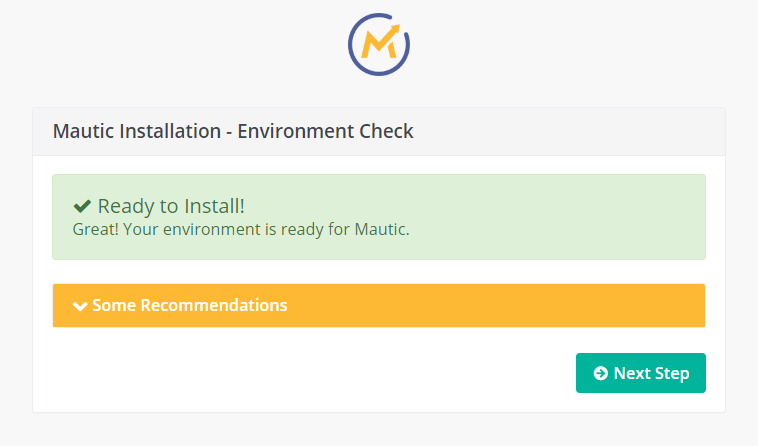
The first step is the environment check.
On the Mautic Installation – Environment Check, the script will analyze your server’s configuration and make sure that your server checks all the boxes.
Mautic Installation: Environment Check
If it says “Ready to Install!” you are safe to proceed, however, you can check the “Some Recommendations” to see some ways to improve your setup before proceeding.
The second step is the Database Setup.
Mautic Installation – Database Setup: This is the step most prone to give you an error or to just refuse your input; if you get an error, it’s most certainly not the script failing, it’s quite more likely that your database is not properly set up. The most common errors are related to the database being unreachable, the permissions on the MySQL server not properly configured or just the credentials (user/password) not being correct. (more common than you would think).
Mautic Installation: Database Setup
In most situations, you will want to use the following:
Database driver: MySQL PDO
Database Host: localhost
Database port: 3306
DB name: Mautic
Database Table Prefix: Leave empty (Some hosting providers will give you a prefix, otherwise leave empty)
DB User: root (this one might be different)
DB Password: password (use your password)
Backup existing tables: No (unless you have a previous Mautic Installation that you want to keep)
Note that if you use “Backup existing tables: Yes” Mautic will not load your old data but just back the old data and create a new database for you.
Creating your new Mautic Administrator account.
Mautic Installation – Administrative User: The user running the Mautic Configuration Wizard will be the first Administrator and will have full access rights.
Mautic Installation: Administrative User
You can use any Admin Username you like and it’s certainly a good idea not to use “admin” or “administrator”
Make sure your new password is secure enough.
NOTE: Both of these parameters have nothing to do with the user and password used in the previous step.
The email address is supposed to be your personal email address and it will be used to send you internal msgs only.
Set the email address to be used by Mautic to send emails.
Mautic Installation – Email Configuration: You can use your personal email address if you want to, however, all emails going out from Mautic to your contacts will use this email address, it’s usually a good idea to use an address like mautic@yourdomain.com,marketing@yourdomain.com, news@yourdomain.com, hello@yourdomain.com, you get the idea…
Mautic Installation: Email Configuration
In most cases, it is recommended to “Send immediately” your emails, but you can also configure a queue if you wish. If you have your email provider’s credentials at hand you can now select the name of your provider, if you don’t you can do this later after you log into Mautic and you can leave this as “PHP Mail” for now.
Almost there, you just need to login!
Mautic will probably auto-populate this for you so you just have to click the login button, if it doesn’t, just manually introduce the new Administrator and Password you created just before.
Mautic Installation: Login Screen
Congratulations, you did it!
If you see the screen below, you have successfully and properly configured your Mautic Instance, however, this is also a step prone to errors, if there’s some misconfiguration in your server you can get an error msg instead of the Mautic dashboard, if you do, check your Apache configuration, it’s the most probable cause for an error on this page.
Mautic Installation: Mautic Interface
Enjoy your new Mautic setup!
If you get stuck on any step or have any questions, don’t hesitate to ask in the comments below.
My name is Yosu Cadilla, a Systems Analyst and Platform Engineer for mktg.dev I discovered Mautic in 2017 and since have specialized in: – Running Mautic for Marketing Agencies. – Running large Mautic instances, sometimes with millions of contacts. – Helping companies build and optimize their (usually Mautic) runtime infrastructure.
If you are planning on deploying Mautic for your Marketing Agency, or you have a large Mautic Instance… Let’s have a chat! yosu.cadilla@gmail.com